Follow this step-by-step guide to properly install Hayn's Hi-MOD compression fittings, ensuring a secure, reusable connection every time.
Hi-MOD Installation
Installation starts with untwisting and prepping the wire strands, seating the cone fully into the fitting body, and positioning the Crown Ring before tightening the assembly hand-tight plus an additional half-turn, secured with Loctite thread locker. Hi-MOD fittings are designed to be fully reusable, so routine inspection and reassembly is possible as long as the cone hasn't become distorted or damaged from prior use. The guide also covers proper tool use and torque guidance to help ensure the fitting reaches its full rated strength on first assembly.
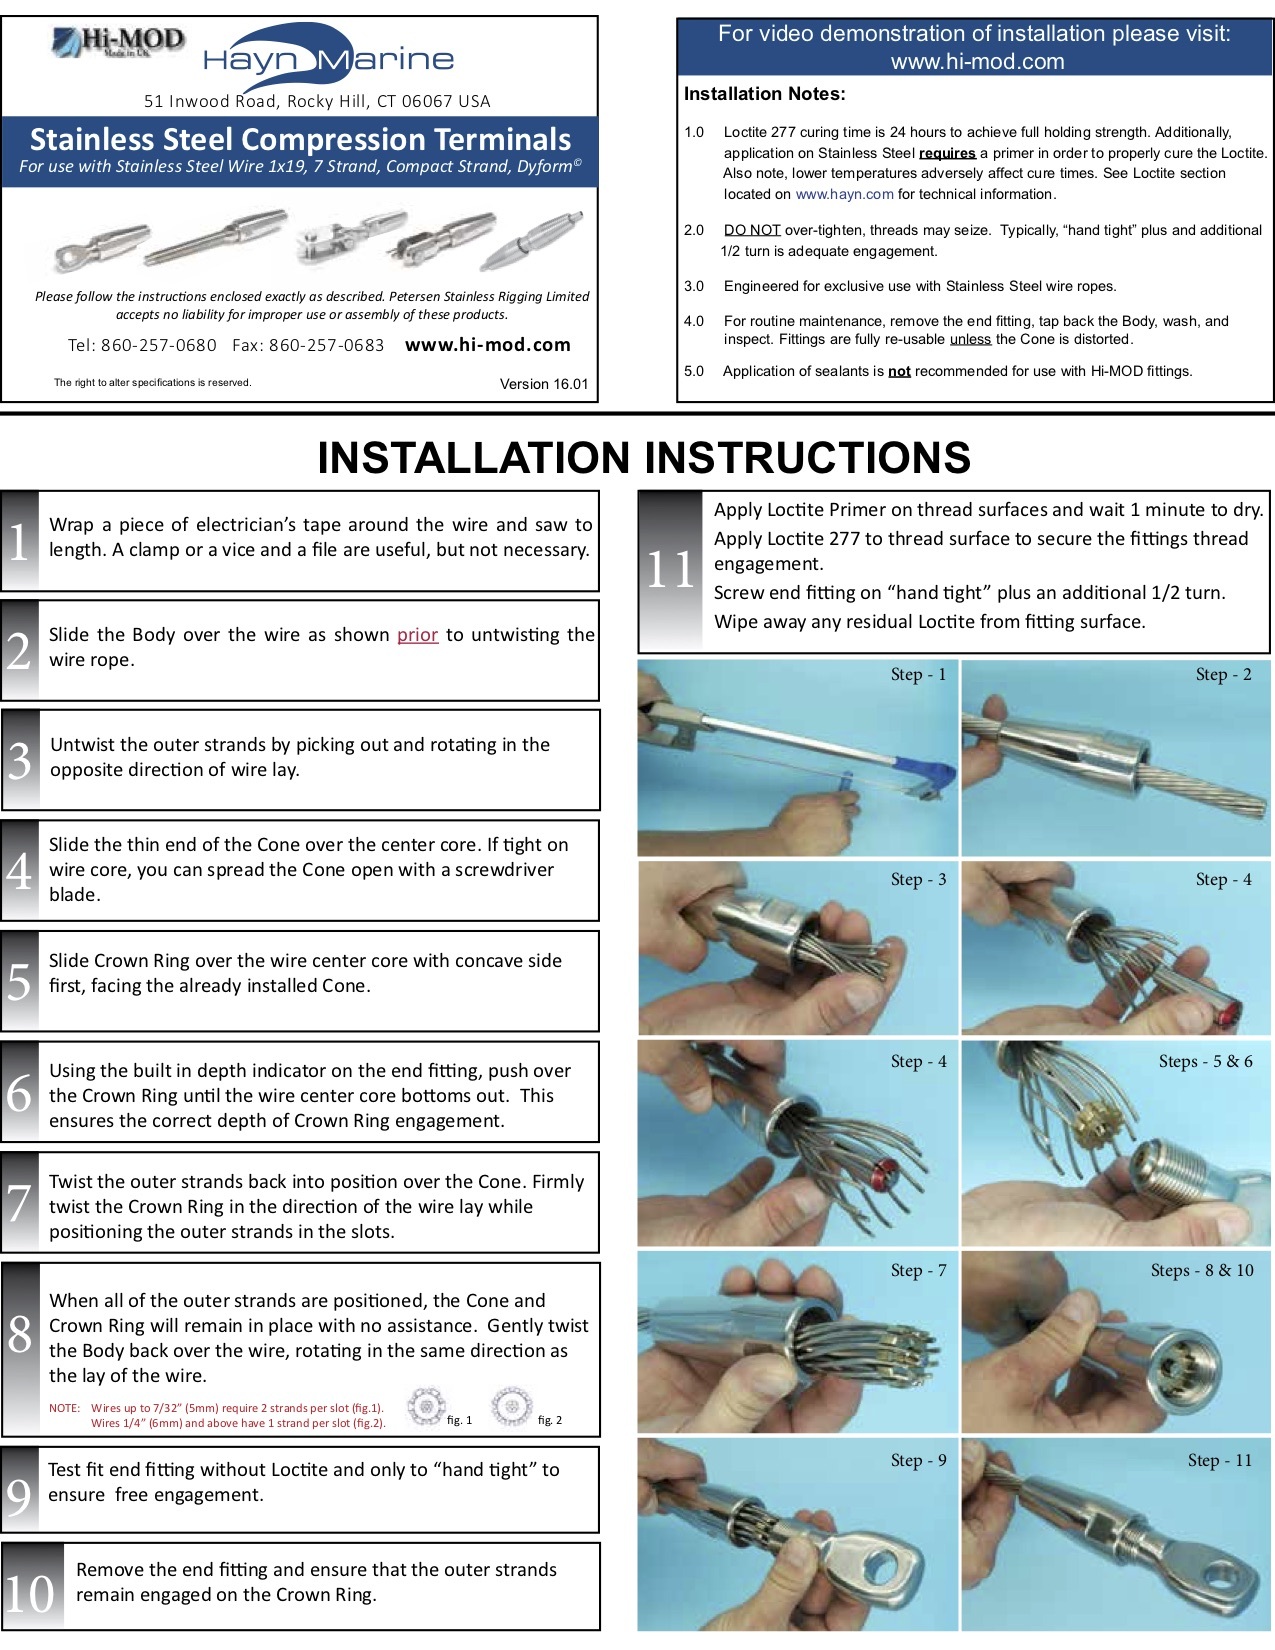
Wrap a piece of electrician’s tape around the wire and saw to length. A clamp or vice and a file are useful, but not absolutely necessary.
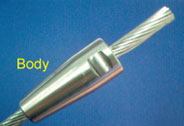
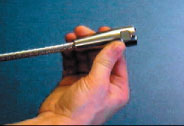
Place the body over the wire as shown. Prior to untwisting the wire rope.
Step 2
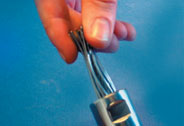
Untwist the outer strands by picking out and twisting in the opposite direction to the lay of the wire.
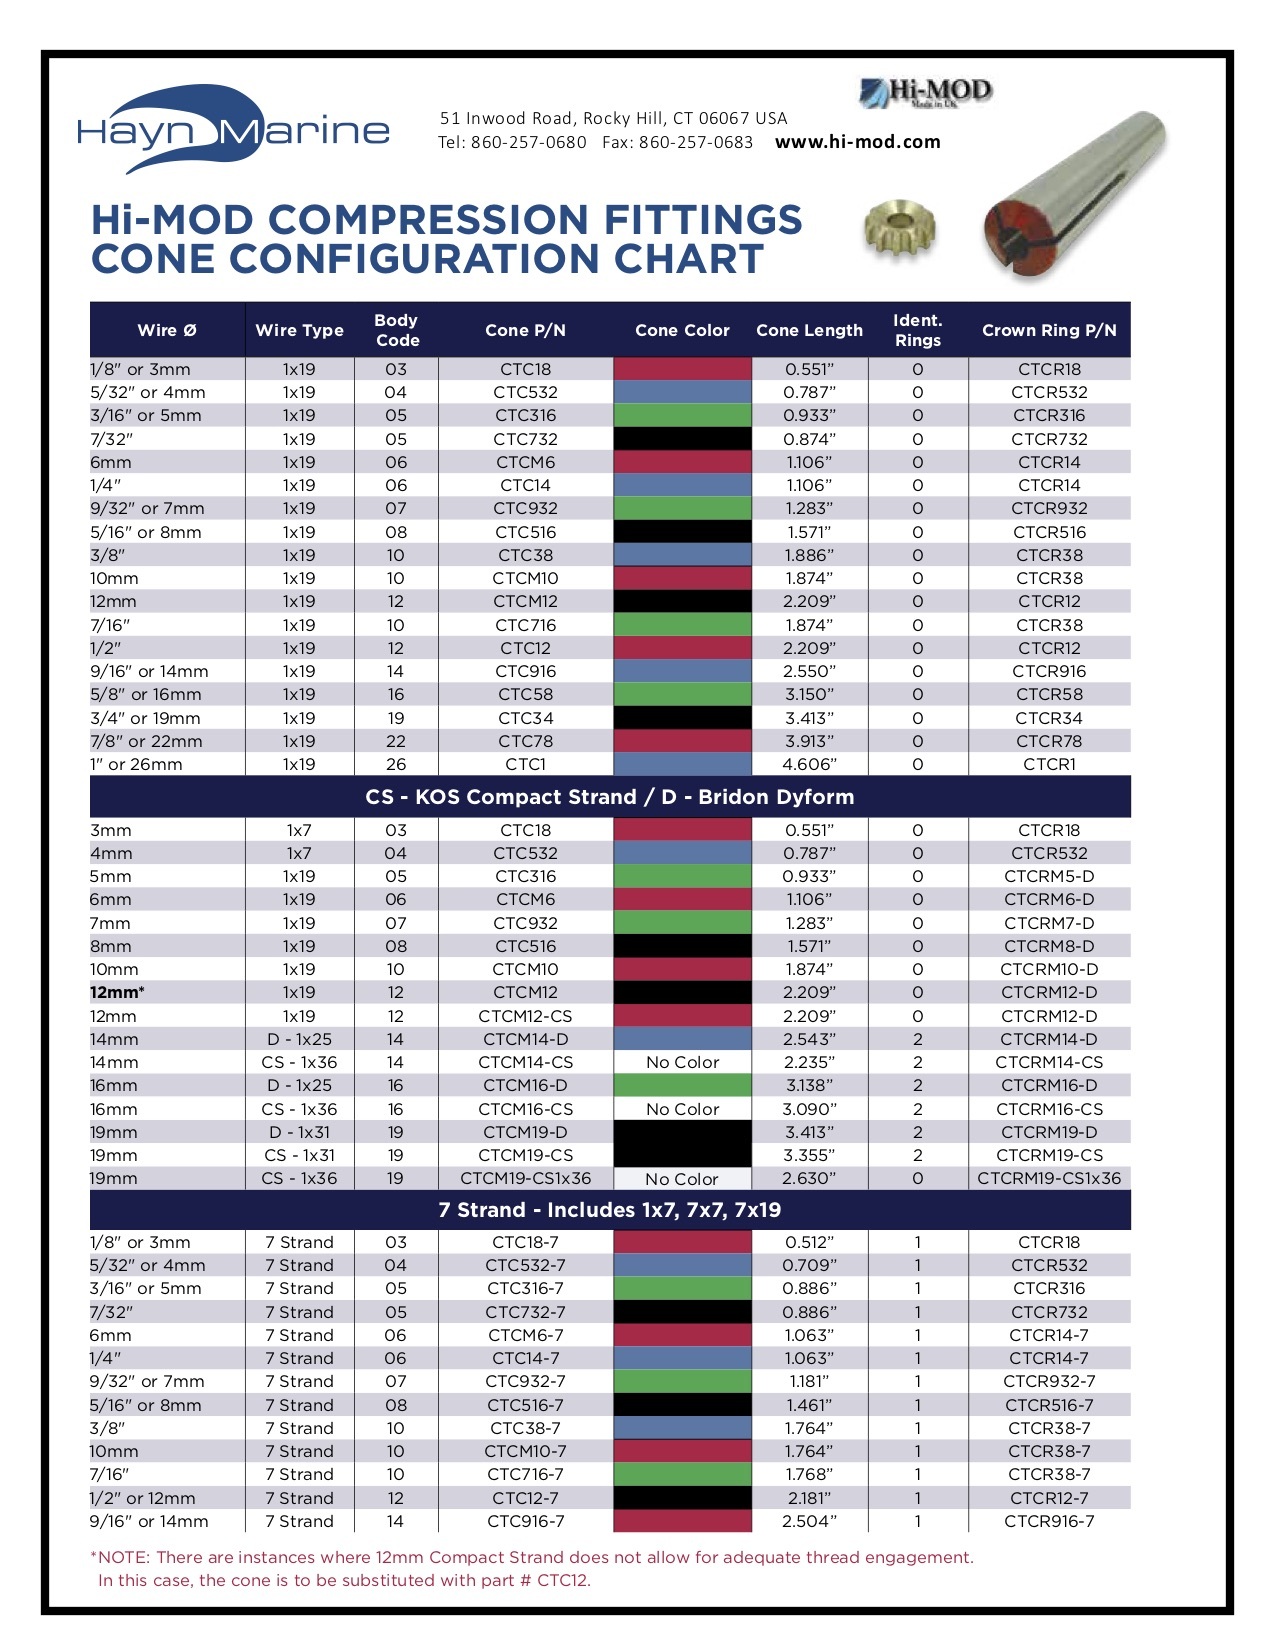
Slide the thin end of the cone over the center core. You can force the cone open with a screwdriver blade if necessary.
Step 3
Slide the Crown Ring over the center core with the concave side first.
There is a hole in the center of the threaded stud, fork or eye. Push the Crown Ring on with this part and the core will protrude by the correct amount.
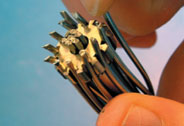
Twist the outer strands back into position over the cone. Firmly twist the Crown Ring in the direction of the lay while you position the outer strands in the slots.
Step 4
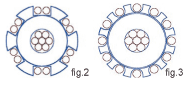
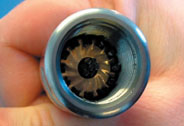
Wire Sizes up to 7/32″ (5mm) require 2 strands per slot (fig.2). Wire sizes 1/4″ (6mm) and above have 1 strand per slot (fig.3).
When all of the outer strands are located the cone and Crown Ring will remain in place with no assistance.
Wire Sizes up to 7/32″ (5mm) require 2 strands per slot (fig.2). Wire sizes 1/4″ (6mm) and above have 1 strand per slot (fig.3).
Step 5
DO NOT apply thread locking solution at this stage. Screw the threaded end fitting onto the body hand tight. Remove the end fitting and inspect the outer strands and Crown Ring ensuring they have remained in position. If all looks in order, apply Loctite™ primer to the stainless steel fittings.
Apply Loctite™ 277 or some other suitable thread locking solution to the fitting’s and re-assemble. At final assembly, fitting should be tightened hand tight plus an additional 1/2 turn. For routine maintenance remove the threaded end fitting, tap back the body, wash and inspect. Fittings are fully re-usable unless the cone is distorted.
Hi-Mod Assembly Consumables
Part #
Description
LOCTITE-277
Loctite Permanent Thread Locker – RED – 277 50ml Bottle

%20(1).png?width=575&name=Hayn%20Product%20Header%20(2240%20x%20660%20px)%20(1).png)